
When choosing from among the top Los Angeles ice machines, you want the best. You also want to make sure you have all the right accessories for your equipment to function properly. One question we get a lot is about filters. So, do ice machines need a filter?
Do Ice Machines Need a Filter?
Technically speaking, an ice machine does not need a filter. They might operate fine without one. However, that might not last forever. Over time, unfiltered water can cause issues like mineral scale buildup. If this goes on long enough, it can affect ice quality and even damage the machine.
So the more practical answer is: yes, ice machines need a filter.
Why Use Filters with an Ice Machine
Filtered water provides benefits for both your machine and anyone consuming the ice. Filtered water will result in better ice clarity, efficiency, and taste. A good filter will not only remove sediment, but it can take out chlorine and impurities that lead to hard water issues. Go without a filter long enough and your machine’s lifespan could be cut short.
Top Reasons to Use a Water Filter for an Ice Machine
- Prevents Scale Buildup: Hard water comes with a lot more than basic H20 in it. It also contains minerals like calcium and chlorine. While these are not harmful, they can cause buildup in the machine, which wears it down.
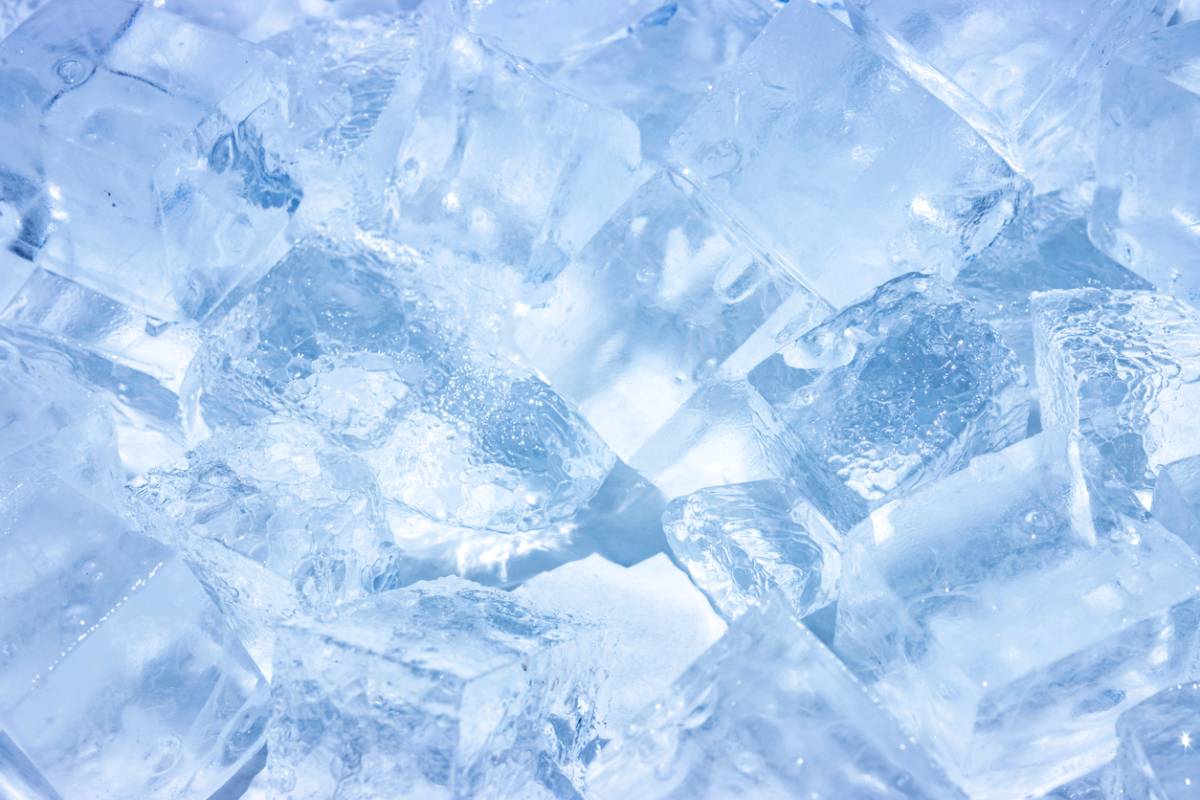
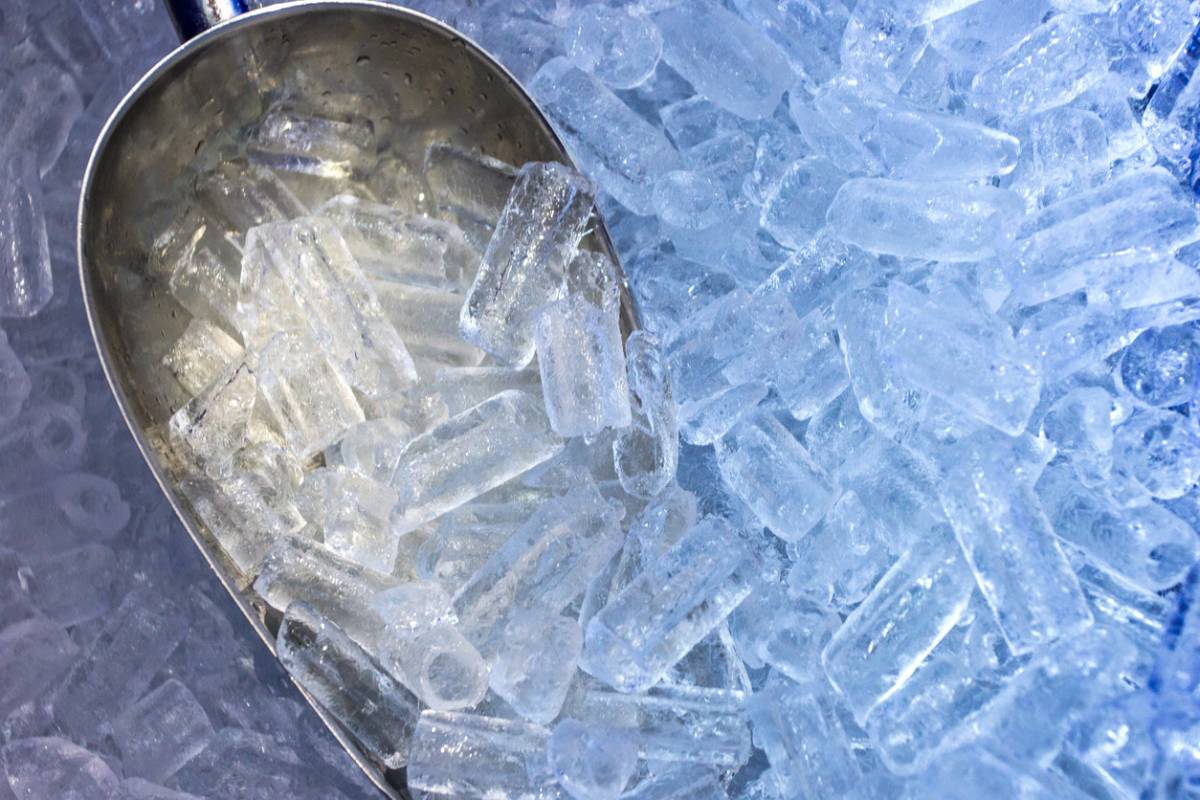
- Better Ice Quality: When water freezes without impurities, you get better, clearer ice. No one likes cloudy, murky ice. It looks less appealing, but it can also drag with it the taste of those impurities. Customers tend to better appreciate ice that looks like frozen water, not like frozen alchemy ingredients.
- Increased Efficiency: Purer water freezes better and leaves behind less buildup. This lets your ice machine do what it is meant to do, and it does it for longer. Filtered water will save you money on repairs or replacing a blocked-up ice maker.
What Types of Water Filters Are There?
Water filter technology is rather diverse. The techniques different filters use can vary, each having its benefits. Some top options to choose from include:
- Sediment Filters: These filters can trap large particles and debris from the water supply. They might not remove all impurities, but they can catch the ones that most impact your ice quality.
- Carbon Filters: These filters use a unique adsorption process that effectively removes chlorine, odors, and other contaminants. Clients choose these filters for better-tasting ice that also avoids the residue left behind by hard water.
- Phosphate Filters: These filters excel at preventing mineral scale in high-mineral water. However, due to how they work, clients should avoid using them for machines that produce cubelet or flake ice.
Considerations when Choosing an Ice Filter
The different types of filters will suit different needs. Before choosing a filter type, keep in mind a few key considerations.
- Check Your Water Hardness: The particles in tap water will vary notably in different areas. Some areas may have very hard water, while others may be less impure. If you have hard water, a filter is almost essential to prevent rapid scale buildup. Each local municipality should provide a free online report on the quality of local tap water.
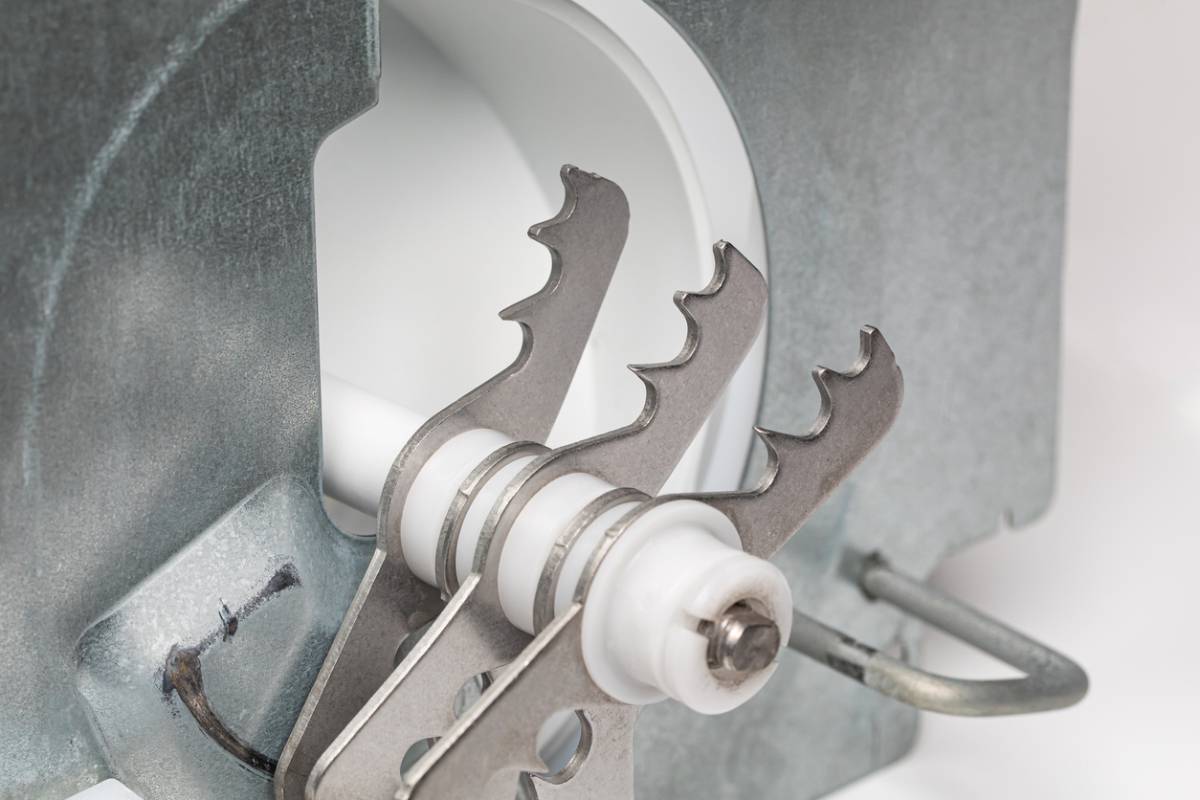
- Know Your Machine: Some machines are not compatible with certain filters. Others might already have a filter built into it. For example, commercial cubelet or flake ice makers have more restrictions on filter type.
- Filter Replacement: Check how often you need to replace your filter. Every 6 months is the most common, but look at the manufacturer’s instructions for filter-specific details.
Get Ice Makers from SoCal’s Go-to Source
SC Beverage is the top supplier of restaurant-quality beverage equipment in Southern California. Choose from ice makes for coffee shops, bars, restaurants, and more.